Categories Troubleshoot Tips

Stop the Flow: How to Fix a Washing Machine That Keeps Filling With Water

How to Fix a Washing Machine That Keeps Filling With Water

Expert Tips From Wizard Appliance Repair, Los Angeles

A washing machine that won’t stop filling with water isn’t just annoying — it can lead to flooding, high utility bills, and even mold. Fortunately, the experts at Wizard Appliance Repair in Los Angeles have seen this issue many times — and know exactly how to fix it.

In this guide, we’ll break down the most common causes and how to fix them. Whether you’re a DIY enthusiast or just trying to understand the problem before calling in the pros, we’ve got you covered.


Why Your Washing Machine Won’t Stop Filling With Water

1. Faulty Water Inlet Valve

The inlet valve controls water flow into your washer. If it’s stuck open, water will keep running. This is one of the most common issues we fix in Los Angeles homes.

2. Clogged or Damaged Inlet Hoses

Hard water in SoCal often leads to sediment build-up. This can block the hose or interfere with water pressure — keeping the valve open longer than necessary.

3. Broken Water Level Sensor

The pressure switch monitors water levels and tells the machine when to stop filling. If it’s not working, your washer doesn’t know when “enough” is enough.

4. Improperly Positioned Drain Hose

If the drain hose is too low or not secured, it can create a siphon effect — draining and refilling the tub repeatedly.

5. Defective Control Board or Timer

On modern machines, a damaged control board can keep sending signals to fill — even when it shouldn’t.


Quick Fixes Before Calling a Pro

  1. Shut Off Power and Water: Unplug the washer and close the water valves.
  2. Inspect the Inlet Valve: Look for damage or test with a multimeter. Replace if faulty.
  3. Check Hoses: Remove, inspect, and flush out any clogs or sediment.
  4. Test the Water Level Sensor: Check for blockages and test with a multimeter.
  5. Verify Drain Hose Placement: Ensure it’s elevated and not kinked.
  6. Examine the Control Board: Look for signs of burning or failure.

Not confident with multimeters or wiring? That’s when we step in.


Prevent It From Happening Again

At Wizard Appliance Repair, we always tell our customers: a little maintenance goes a long way. Here’s how to prevent future issues:

  • Clean inlet screens every few months.
  • Use HE detergent — and don’t overdo it.
  • Avoid overloading your washer.
  • Schedule annual maintenance checks — we offer those too!

Time to Call the Pros?

If the problem keeps coming back or you’re unsure about doing repairs yourself, let our experts handle it. Based in Los Angeles, Wizard Appliance Repair provides same-day service throughout the area.

We’re licensed, experienced, and fully equipped to get your washer back in working order — fast.

Categories Troubleshoot Tips

Washing Machine Won’t Start? Expert Troubleshooting Guide by Wizard Appliance Repair

Washing Machine Won’t Start? Expert Troubleshooting Guide by Wizard Appliance Repair

A washing machine that won’t start can throw your entire day off track—especially when the laundry piles are growing and you’re left staring at a silent machine. At Wizard Appliance Repair, we understand how frustrating it is when your appliance doesn’t cooperate, and we’re here to help Los Angeles residents troubleshoot the issue quickly and effectively.

While some washing machine problems may require a professional touch, many common issues can be solved with a few simple steps. In this guide, we’ll walk you through the most likely reasons your washer isn’t starting, how to fix them, and when to call in expert help from our local team.


Common Reasons Your Washing Machine Won’t Start

Before you assume the worst, it’s helpful to know the usual suspects behind a washer that won’t start:

1. Power Supply Issues
Check the power cord—is it securely plugged in? Try another outlet to rule out a faulty socket, and inspect your home’s circuit breaker to ensure it hasn’t tripped. Damaged cords can also prevent the washer from powering on and should be replaced immediately.

2. Faulty Lid Switch or Door Lock
For safety, washers are designed not to start unless the lid (in top-loaders) or door (in front-loaders) is properly closed and locked. A worn-out or misaligned switch can stop your machine from detecting that it’s ready to go.

3. Malfunctioning Start Button or Control Board
The control panel is the brain of your washer. If the start button isn’t responding or the display is behaving erratically, the control board might be at fault—especially on digital models.

4. Water Supply Problems
Modern washing machines won’t start if they detect no incoming water. Blocked hoses, closed valves, or clogged inlet screens can trigger an automatic halt.

5. Motor or Motor Control Board Failure
If the motor has overheated or the wiring is faulty, your washer might stay silent or make a faint humming noise. These issues often need professional diagnosis.

6. Faulty Mechanical Timer
Older washers with manual timers may get stuck or stop ticking altogether, preventing the cycle from starting.


Step-by-Step Troubleshooting Guide

Here’s a quick DIY checklist to help you pinpoint the issue:

✅ Step 1: Verify the Power Source

  • Confirm the washer is plugged into a working outlet.
  • Test the outlet with another appliance.
  • Inspect the washer’s power cord for damage.
  • Reset your circuit breaker if needed.

✅ Step 2: Check Lid Switch or Door Lock

  • Top-loaders: Listen for a click when you close the lid.
  • Front-loaders: Ensure the door is securely latched. If not, the lock may need replacement.

✅ Step 3: Inspect the Control Panel

  • Unplug the washer for a few minutes to reset the control board.
  • If the start button feels loose or doesn’t respond, the board or button may need replacement.

✅ Step 4: Assess the Water Supply

  • Make sure the water valves behind the washer are open.
  • Inspect hoses for kinks or blockages.
  • Clean the inlet filters/screens if clogged with sediment.

✅ Step 5: Listen for Motor Noise

  • A faint hum might mean the motor is trying to run but can’t.
  • Allow 30 minutes for the motor to cool down if overheated, then try again.

✅ Step 6: Test the Timer (If Applicable)

  • Turn the timer knob and listen for ticking.
  • A faulty timer may stop the cycle from initiating.

DIY Fixes You Can Try

Some common washer problems are easy enough to handle on your own:

Replace a Lid Switch
Remove the top panel, disconnect the old switch, and install a new one—just make sure the machine is unplugged.

Reset the Control Board
Unplug the washer for 3–5 minutes, then plug it back in. This can fix temporary glitches in electronic control systems.

Clean Inlet Screens
Turn off water valves, disconnect hoses, and rinse out any debris from the small mesh filters.


When to Call Wizard Appliance Repair in Los Angeles

Some issues require more than a screwdriver and a YouTube video. If you’ve tried the steps above and your washer still won’t start, it’s time to reach out to the pros. Here’s when to call us:

  • Persistent failure to start even after troubleshooting.
  • Control board malfunctions, software errors, or blinking codes.
  • Electrical or wiring issues, especially if fuses keep blowing.
  • Motor failures, or if the washer shuts down mid-cycle repeatedly.
  • Unusual burning smells or loud noises—these could signal dangerous malfunctions.

Our licensed technicians serve homes and apartments across the Los Angeles area with same-day washer repair services. We’re equipped with genuine parts, advanced diagnostic tools, and the know-how to fix all major brands and models.


Final Thoughts

A non-starting washing machine doesn’t always mean you need a new one. Many issues are easy to diagnose and fix with just a bit of guidance. But if you’d rather not deal with the guesswork or risk making the problem worse, our expert team at Wizard Appliance Repair is here to help.

Categories Troubleshoot Tips

Why Your Washing Machine Isn’t Filling with Water – Troubleshooting Tips from Wizard Appliance Repair

Why Your Washing Machine Isn’t Filling with Water

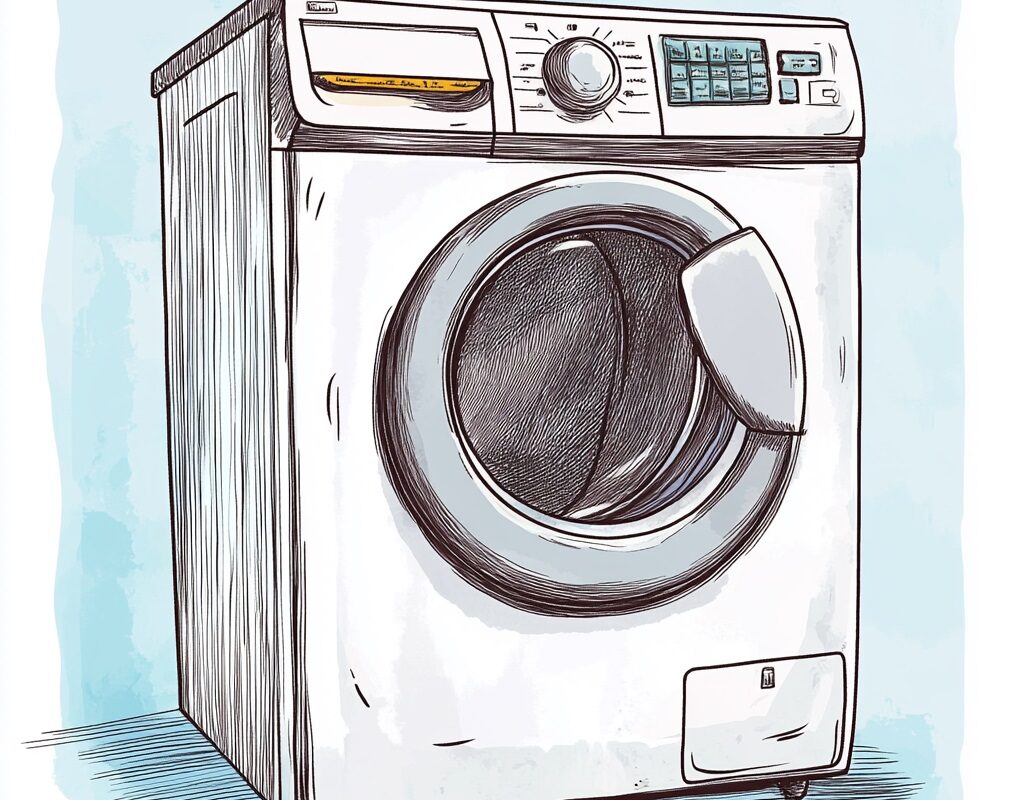
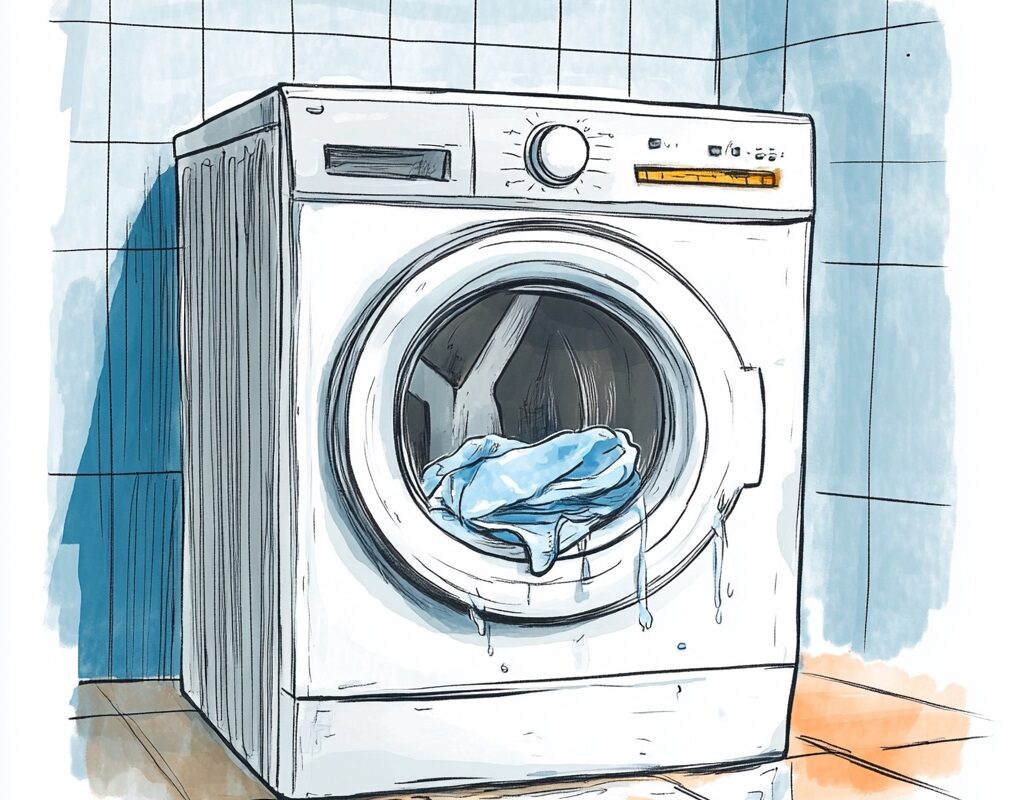
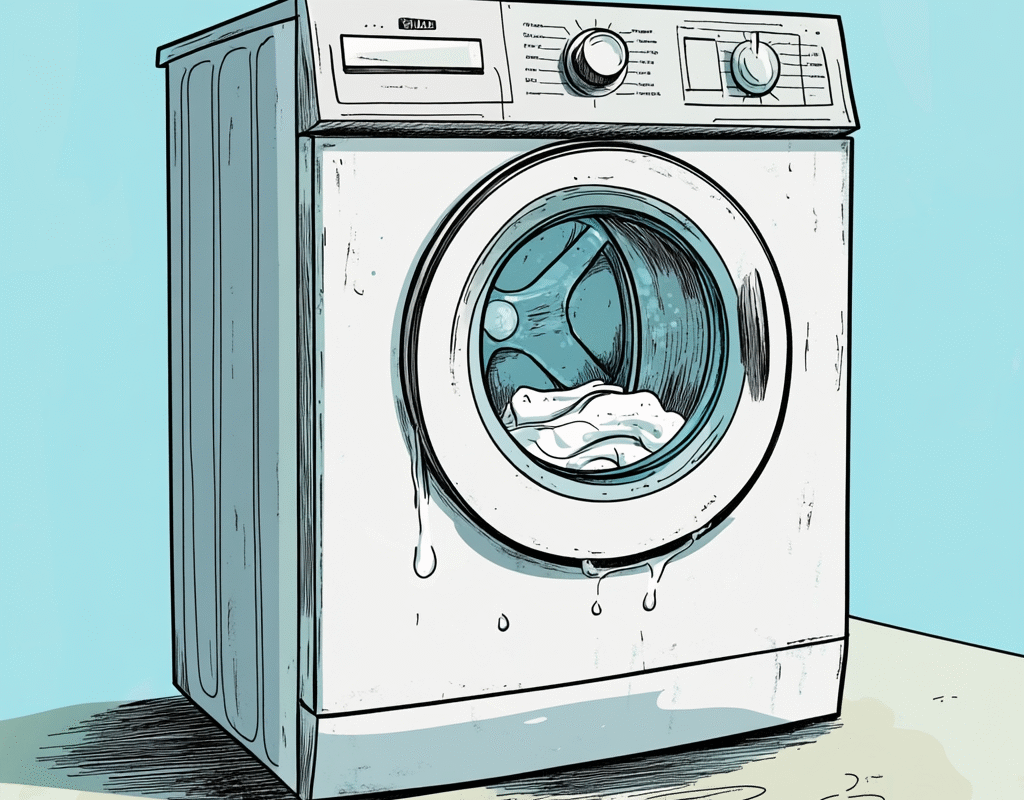
When your washing machine suddenly stops filling with water, it’s more than just an inconvenience—it can completely derail your laundry routine. For homeowners in Los Angeles who rely on their appliances to keep up with busy schedules, a non-filling washer is a problem that needs fast, expert attention.

At Wizard Appliance Repair, we understand how frustrating this issue can be, and we’re here to help. Whether you’re a hands-on homeowner or you prefer to leave it to the pros, this in-depth guide will walk you through the most common causes behind the problem, how to troubleshoot them, and when it’s time to call our certified appliance repair team.


Common Reasons Your Washing Machine Isn’t Filling with Water

Several components must work in sync for your washer to operate properly. If any one of them fails, your machine might not fill up as it should. Below are the most frequent culprits we encounter during service calls across L.A.:

1. Defective Water Inlet Valve

This valve is responsible for allowing water into your washer at the right time. If it becomes clogged with debris or simply wears out, it won’t open when needed—leaving your machine bone dry.

2. Clogged Water Supply Hose or Filter

Mineral buildup from Los Angeles’ hard water is a common cause of clogs in the inlet hose or its internal filter. These obstructions reduce water flow or stop it completely.

3. Malfunctioning Water Level Pressure Switch

This component monitors the water level in the drum and signals the valve when to stop. If it’s not functioning correctly, it may prevent the washer from filling altogether.

4. Low Home Water Pressure

Sometimes, the machine isn’t the problem—your home might simply not have enough water pressure to supply the appliance. A partially closed valve or plumbing issue could be to blame.

5. Damaged or Blocked Internal Pipes

Cracked, leaking, or clogged pipes within the machine or in your home’s plumbing system can disrupt the water flow entirely.


Step-by-Step Troubleshooting

Here’s how you can try to fix the issue yourself before calling the pros:

✅ Step 1: Power Down Safely

Unplug your washing machine and shut off the water supply before inspecting anything. Safety first—always.

✅ Step 2: Verify the Water Supply

Double-check that the water valves behind your washer are fully open. Run a nearby faucet to test the overall water pressure in your home.

✅ Step 3: Inspect Hoses and Filters

Disconnect the supply hose and look for kinks, wear, or clogs. Use a small brush or vinegar to clean out any built-up sediment from the hose and filter.

✅ Step 4: Examine the Inlet Valve

You may need to remove the washer’s rear panel. Look for any cracks, signs of corrosion, or leaks. Use a multimeter to test continuity. If faulty, the valve needs replacing.

✅ Step 5: Test the Pressure Switch

This usually involves removing the control panel. Again, a multimeter can help verify whether the switch is working properly. Replace it if there’s no continuity.

✅ Step 6: Check for Plumbing Issues

Inspect visible pipes for signs of damage or leaks. If you suspect a hidden blockage or issue inside the walls, a plumber may be necessary.

✅ Step 7: Run a Test Load

After checking and fixing potential problems, plug the machine back in and run a quick wash cycle to see if the issue is resolved.


Preventative Maintenance Tips

The best way to avoid water fill problems is by staying proactive. Here’s how you can keep your washing machine in peak condition:

  • Clean inlet filters every few months to avoid sediment buildup.
  • Inspect and replace hoses every 3–5 years to prevent leaks or kinks.
  • Use the correct amount of detergent to avoid overflow and sensor interference.
  • Avoid overloading the drum to reduce wear on internal components.
  • Schedule annual check-ups with Wizard Appliance Repair to catch small problems early.

When to Call Wizard Appliance Repair in Los Angeles

If you’ve gone through the troubleshooting steps and your washer still won’t fill—or if you’re not comfortable opening the machine up yourself—don’t stress. That’s what we’re here for.

Give us a call when:

  • The problem persists after basic troubleshooting
  • You’re unsure about handling electrical or plumbing work
  • The unit is still under warranty and DIY repair might void it
  • You’re short on time and need a fast, professional fix

At Wizard Appliance Repair, our technicians are fully licensed, insured, and experienced in servicing all major washing machine brands—from Whirlpool and LG to Samsung and GE. We offer same-day appointments throughout Los Angeles and the surrounding areas, so you’re never stuck waiting days for laundry help.


Final Thoughts

Your washing machine is an essential part of your daily routine. When it fails to fill with water, it can feel like a major disruption—but with the right guidance and support, it’s a fixable issue. Whether you decide to troubleshoot the problem yourself or call in our experts, acting quickly can help you avoid larger repairs down the road.

Let Wizard Appliance Repair take the guesswork out of appliance troubleshooting. We’re proud to serve the L.A. community with fast, honest, and professional repair services you can rely on.

Need help now? Contact us today or book your appointment online and get your laundry routine back on track—wizard-fast.

Categories Common Fixes

How to Fix a Refrigerator That Won’t Defrost

A refrigerator that isn’t defrosting properly can cause excessive frost buildup, leading to cooling issues, reduced efficiency, and even potential damage to internal components. If you’ve noticed thick ice accumulation in your freezer or your fridge struggling to maintain the right temperature, it’s crucial to address the problem before it worsens.

In this guide, we’ll walk you through the most common causes of defrosting failures, troubleshooting steps, and when to call a professional appliance repair technician.

Why Is My Refrigerator Not Defrosting?

Most modern refrigerators feature an automatic defrost system that prevents frost accumulation. However, when key components fail, frost and ice can build up, leading to cooling issues. Here are the most common reasons why your refrigerator may not be defrosting properly:

1. Faulty Defrost Timer

The defrost timer controls when the fridge enters the defrost cycle by shutting off the compressor at regular intervals. If the timer malfunctions, the refrigerator may not enter the defrost cycle, causing excessive frost buildup on the evaporator coils.

Signs of a Faulty Defrost Timer:

  • The fridge remains in cooling mode without switching to defrost.
  • Frost buildup on the back wall of the freezer.
  • The refrigerator runs continuously without stopping.

Solution:

  • Locate the defrost timer (typically found inside the control panel or behind the fridge).
  • Manually advance it to the defrost mode. If the system starts defrosting, the timer may be faulty and should be replaced.

2. Defective Defrost Heater

The defrost heater is responsible for melting accumulated frost on the evaporator coils. If it fails, ice will continue to build up, restricting airflow and reducing cooling efficiency.

Signs of a Broken Defrost Heater:

  • Thick ice buildup on the evaporator coils.
  • The fridge compartment is warm while the freezer is extremely cold.
  • Water pooling inside the fridge due to incomplete defrosting.

Solution:

  • Unplug the refrigerator and locate the defrost heater near the evaporator coils.
  • Use a multimeter to check for continuity. If there is no continuity, replace the defrost heater.

3. Malfunctioning Defrost Thermostat

The defrost thermostat regulates the temperature of the evaporator coils. It ensures the defrost heater turns on when needed and shuts off when the ice has melted. If the thermostat fails, the heater won’t activate, leading to frost accumulation.

Signs of a Bad Defrost Thermostat:

  • The freezer compartment is too cold, but ice continues to build up.
  • The defrost heater doesn’t activate.
  • Food in the fridge section starts spoiling due to improper cooling.

Solution:

  • Locate the defrost thermostat near the evaporator coils.
  • Test it with a multimeter. If it doesn’t show continuity at freezing temperatures, replace it.

4. Clogged Defrost Drain

During the defrost cycle, melted ice drains through a defrost drain located at the bottom of the freezer. If this drain gets clogged with debris or ice, water may back up, freeze, and cause excess ice buildup.

Signs of a Clogged Defrost Drain:

  • Water pooling at the bottom of the fridge or freezer.
  • A sheet of ice forming under the freezer drawer.
  • A musty or moldy odor inside the refrigerator.

Solution:

  • Unplug the refrigerator and locate the defrost drain (typically at the back of the freezer).
  • Pour hot water down the drain to melt any ice blockages.
  • Use a thin wire or pipe cleaner to remove any debris.

How to Fix a Refrigerator That Won’t Defrost

If your fridge is experiencing defrosting issues, follow these troubleshooting steps to identify and fix the problem:

Step 1: Test the Defrost Timer

  • Manually advance the timer into the defrost cycle.
  • If the system starts defrosting, the timer may be faulty and should be replaced.

Step 2: Check the Defrost Heater

  • Use a multimeter to check for continuity.
  • If the heater is defective, replace it to restore proper defrosting.

Step 3: Inspect the Defrost Thermostat

  • Test for continuity at freezing temperatures.
  • If the thermostat is faulty, replace it to ensure the heater activates correctly.

Step 4: Unclog the Defrost Drain

  • Use hot water to melt ice blockages.
  • Clean out any debris to ensure proper drainage.

When to Call a Professional Refrigerator Repair Service

While some defrosting issues can be resolved with basic troubleshooting, others require professional repair. If you’ve tried the above steps but the problem persists, it’s time to call an expert.

At Wizard Appliance Repair, we specialize in refrigerator repair in Los Angeles, California, offering expert solutions for defrosting issues and more. Our skilled technicians can quickly diagnose and fix your fridge, ensuring it operates at peak efficiency.

Why Choose Wizard Appliance Repair?

Same-Day Service – We offer prompt repairs to prevent food spoilage.
Certified Technicians – Experienced in fixing all major refrigerator brands.
Affordable Pricing – Transparent pricing with no hidden fees.
Guaranteed Repairs – We stand behind our work with a satisfaction guarantee.

Final Thoughts

A refrigerator that won’t defrost can lead to serious cooling problems and increased energy costs. Fortunately, troubleshooting the defrost system—including the timer, heater, thermostat, and drain—can often resolve the issue. However, if the problem persists, Wizard Appliance Repair is here to help.

📞 Contact us today for fast, reliable refrigerator repair in Los Angeles!

Categories Common Fixes

How to Troubleshoot a Leaking Refrigerator

A leaking refrigerator is more than just a minor inconvenience—it can lead to water damage, warped flooring, and even mold growth if not addressed promptly. Whether you notice a puddle forming beneath your fridge or water pooling inside the compartments, finding the source of the leak is crucial for preventing further damage.

In this guide, we’ll cover the most common causes of refrigerator leaks, how to troubleshoot them, and when to call a professional repair service.

Common Reasons Why Your Refrigerator Is Leaking

1. Clogged Defrost Drain

Your refrigerator goes through a natural defrost cycle, melting ice buildup and draining the water away through a defrost drain. Over time, food particles, dust, or ice can clog this drain, causing water to back up and pool inside the fridge or leak onto the floor.

Signs of a Clogged Defrost Drain:

  • Water collecting at the bottom of the fridge.
  • Ice buildup in the freezer compartment.
  • Puddles forming underneath the refrigerator.

How to Fix It:

  • Unplug the refrigerator for safety.
  • Locate the defrost drain (usually at the back of the fridge or inside the freezer).
  • Use warm water or a pipe cleaner to remove any blockages.
  • If necessary, use a mixture of baking soda and water to flush out stubborn clogs.

2. Damaged or Worn Door Seals

The door gasket (seal) ensures an airtight closure, keeping cold air inside the fridge. If the seal is cracked, worn, or dirty, warm air can seep in, causing excess condensation that eventually leaks onto the floor.

Signs of a Faulty Door Seal:

  • Water droplets or moisture buildup inside the refrigerator.
  • The fridge door doesn’t close properly or requires extra force to seal.
  • Higher-than-usual energy bills (due to the fridge overworking to maintain temperature).

How to Fix It:

  • Inspect the seal for visible cracks or gaps.
  • Clean the gasket with warm, soapy water to remove dirt and debris.
  • If the seal is loose or damaged, replace it with a new one to restore proper insulation.

3. Faulty Water Inlet Valve

If your refrigerator has an ice maker or water dispenser, it relies on a water inlet valve to control the flow of water. A damaged or loose valve can cause slow leaks that accumulate over time.

Signs of a Faulty Water Inlet Valve:

  • Water pooling behind or beneath the refrigerator.
  • Reduced ice production or water pressure in the dispenser.
  • Dripping water from the back of the appliance.

How to Fix It:

  • Pull the fridge away from the wall and inspect the water supply line and inlet valve.
  • Tighten any loose connections.
  • If the valve is cracked or leaking, replace it with a compatible part.

4. Overflowing or Cracked Drain Pan

The drain pan, located at the bottom of the fridge, collects excess water from the defrost cycle. Normally, this water evaporates on its own, but if the pan becomes too full or cracked, it can leak onto the floor.

Signs of a Drain Pan Issue:

  • Water pooling near the front or back of the fridge.
  • A musty or moldy odor near the base of the appliance.
  • Visible cracks or damage in the drain pan.

How to Fix It:

  • Locate the drain pan (usually at the bottom of the fridge, accessible from the front or back).
  • Remove and inspect the pan for damage.
  • If the pan is full, empty it and clean it with warm, soapy water.
  • If it’s cracked, replace it with a new one to prevent further leaks.

5. Ice Maker or Water Dispenser Leak

If your refrigerator has an ice maker or water dispenser, a leaking water line or a loose connection can cause persistent puddles around the appliance.

Signs of a Leak in the Ice Maker/Water Dispenser:

  • Water pooling near the fridge even when the defrost cycle isn’t active.
  • Ice cubes appearing hollow or misshapen.
  • Water dripping from the dispenser area.

How to Fix It:

  • Check the water supply line for kinks, leaks, or loose connections.
  • Tighten any fittings that appear loose.
  • If the line is damaged, replace it with a new one.

Troubleshooting Steps to Fix a Leaking Refrigerator

If your refrigerator is leaking, follow these steps to diagnose and resolve the issue:

Step 1: Identify the Source of the Leak

  • Check where the water is pooling (inside the fridge, underneath, or behind).
  • Determine if the leak occurs consistently or only during certain times (e.g., after the defrost cycle).

Step 2: Inspect the Defrost Drain

  • Look for ice buildup or food debris blocking the drain hole.
  • Use warm water or a pipe cleaner to clear any obstructions.

Step 3: Examine the Door Seals

  • Run your hand along the seal to check for gaps or tears.
  • Clean the gasket with mild soap and warm water.
  • If damaged, replace the gasket.

Step 4: Check the Water Inlet Valve and Supply Line

  • Inspect the valve and tubing behind the fridge.
  • Tighten any loose connections or replace damaged parts.

Step 5: Inspect the Drain Pan

  • Remove and clean the drain pan.
  • Replace it if it’s cracked or damaged.

When to Call a Professional Repair Service

If you’ve tried troubleshooting the leak but the problem persists, it may be time to call an expert. Some issues, such as internal leaks, refrigerant problems, or electrical malfunctions, require specialized tools and expertise to repair safely.

At Wizard Appliance Repair, we specialize in diagnosing and fixing refrigerator leaks in Los Angeles, California. Our experienced technicians provide fast and reliable service to ensure your fridge runs smoothly and efficiently.

Why Choose Wizard Appliance Repair?

Same-Day Service – We offer prompt repairs to prevent further damage.
Certified Technicians – Our experts are trained to repair all major refrigerator brands.
Affordable Pricing – Transparent rates with no hidden fees.
Guaranteed Repairs – We stand behind our work with a satisfaction guarantee.

Final Thoughts

A leaking refrigerator is more than just a nuisance—it can lead to costly water damage and food spoilage if left untreated. Fortunately, many leaks can be fixed with simple maintenance, such as clearing the defrost drain, checking door seals, and inspecting the water line. However, if the issue persists, don’t hesitate to call Wizard Appliance Repair for professional assistance.📞 Contact us today to schedule a repair and stop the leak before it causes serious damage!